Oh me, oh my…
11/10/2011 § 1 Comment
Where has the time gone? It’s seems like just the other day I was in high school and my mom and I were running a little vintage dress shop online. When I left for college it became difficult to maintain so it slowly died out. I am happy to report that recently my mom revived the little shop, this time with a mixture of different vintage and antique items. You should take a gander at what’s available.
Especially if you’re into weaving, knitting, sewing, or just generally awesome stuff. I’m sure she’d appreciate it.
Peace
-BL
Another year
08/22/2011 § 1 Comment
Yesterday was my 24th birthday.

Honestly, it was one of the best birthdays I’ve had in a long time. I felt a lot of love from family and friends, new and old. The last six months have been an interesting transition, and I often find myself in a frustrated rush to know what’s next. I’m trying hard to slow down and truly enjoy life as it comes. Finally, I think pieces are starting to fall into place and I’m really excited to see what the future holds. Twenty-three was an amazing year full of traveling and new life-changing experiences. My goal is to continue to build on that foundation and make this next year even better. It’s going to be tough, but I know it’s possible.
-B
Life
07/17/2011 § Leave a comment
A Proper Introduction
06/02/2011 § 3 Comments
I’ve created numerous blogs that I’ve never written in and I blame it all on one thing. The introduction. I come up with a name, pick the theme, add a picture and then go to write, and… nothing. I think introductions to blogs box you in. Right now, I can’t be boxed in.
That said, I think it’s finally time for me to properly introduce my[self] blog.
My name is Brooke, and this is Brooke Lauren’s Finest.
I have always questioned my parents logic when I comes to my name. Why not Brooke Lynn? My mom said it never even crossed their minds, so I’m embracing the Lauren.
This is not a food blog [at least I don’t think it’s going to be]. I know it doesn’t appear that way, but initially food was not my intended focus. I’ve just had food on the brain in a very serious way the past couple of months. You see, I’m waiting to hear back on a job offer that has to do with farm to cafeteria programs. It’s an amazing opportunity that would consume the next year of my life if I get it. I should know mid-June, but I’m starting to get antsy.
I just graduated from college in December. Don’t ask me my major, it’s practically worthless and I know that. When I tell people I get a funny look followed by, “What are you going to do with that?”
I got accepted to graduate school recently, but couldn’t rationalize the bill. So, that’s on hold.
I’ve since moved back home and work at a restaurant. I think it makes some of my family member’s blood-curdle. I guess I can understand some of their frustration. I’m just trying to make ends meet.
Moving back home has definitely been an interesting transition that no one really prepared me for. I really hadn’t realized how much some things had changed since I left and how many other things that stayed the same.
It’s strange in a way, [almost] every time I see someone that I know but am not close to, I these two questions:
1.) Are you married yet? Answer: No. Sorry to disappoint, but I’m not even close.
2.) What are your “plans”? As is, you’ve just spent the last four years in college, what in the hell are you going to do with the rest of your life? Answer: I don’t know. That’s right, I said it.
I’m getting used to it now but it’s frustrating at times.
To be quite honest… this blog has about as little focus as my future does. I’m just doing what feels right. I love photography, I love food, I love my family and friends, I love my dog, and I love not having to do homework. Those are some of the things that I know right now. I’m just trying to take it all in, and enjoy it while I can.
Simply put, this blog is just good for me right now.
So… to those of you that have subscribed, thank you! I hope you’ll stick with me as I figure things out. If I’m lucky, maybe I can help provide some inspiration along the way.
-BL
Maeby Not, Maeby So: Quick & Easy Homemade Doggie Treats
05/26/2011 § 4 Comments
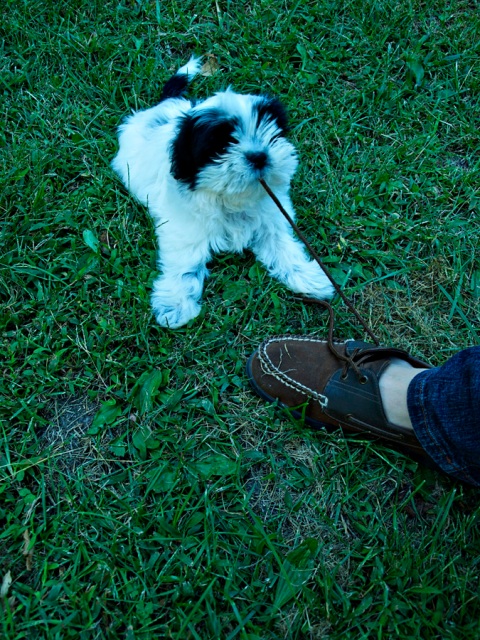
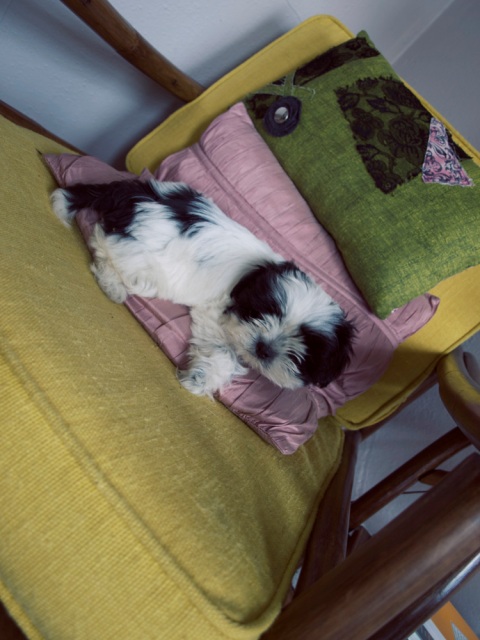
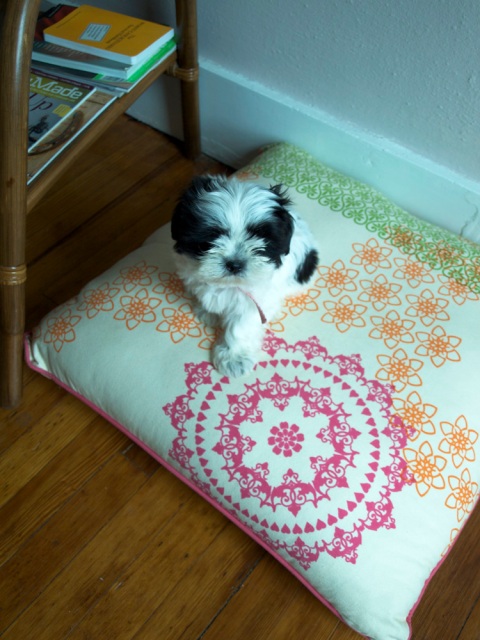 Meet Maeby. She is my furry little companion/ball of cuteness. She came into my life quite unexpectedly. I went to Wal-mart for toilet paper between classes one day and came home with a puppy; which I bought from someone’s trunk in the parking lot. I guess you could say it was a bit of an impulse buy, but who could resist that face?
I used to get squeamish when people would start going on about their pets so I’ll spare you the agony.
Lately Maeby and I have been having an issue. You see, she is very finicky about her food. I’ve consulted with the vet numerous times about this issue and they say she’s healthy, but coaxing her to eat is sometimes quite a chore. I’ve tried so many different dog foods it’s ridiculous. I’m finally to the point where I’ve decided to dabble in making her food. I’ve been reading about it lately to make sure it’s safe and so far I have found many sources that say it is. Rather than diving directly into making the food, which seems a bit complicated, I’ve decided to start with handmade treats.
This brings me to my first topic in the Maeby Not, Maeby So series: Quick and easy dog treats. If Maeby and I both approve of the treat it will get a “Maeby So!”, if we don’t like it a “Maeby Not”. I found basic recipes for treats on a site called Bullwinkle.
Easy Homemade Doggie Treats
1. Peanut Butter Puppy Poppers rating: Maeby So!
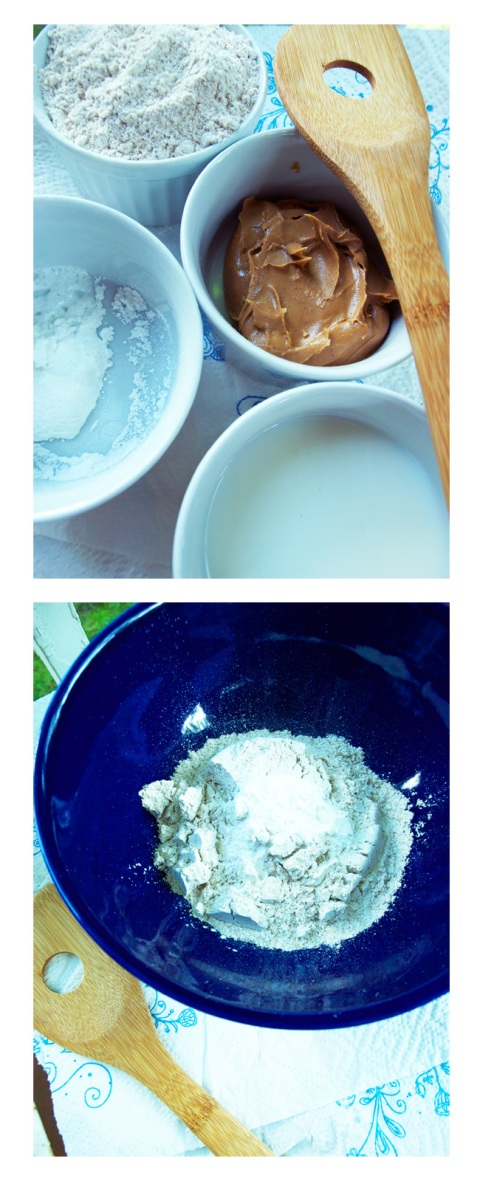
The original recipe makes a very large batch, so I cut it in half, still yielding plenty of treats. I also cut the cook time down by about half as well. In the end, the treats turned out nicely and Maeby really enjoys them. I am in no way an expert on this, so you should really know how your pet will react to each ingredient before feeding it to them. I found out that some dogs are allergic to peanuts, just like adults. So please use your discretion :)
1 cup whole-wheat flour
1/2 tbsp. baking powder
1/2 cup peanut butter (chunky or smooth)
1/2 cup milk
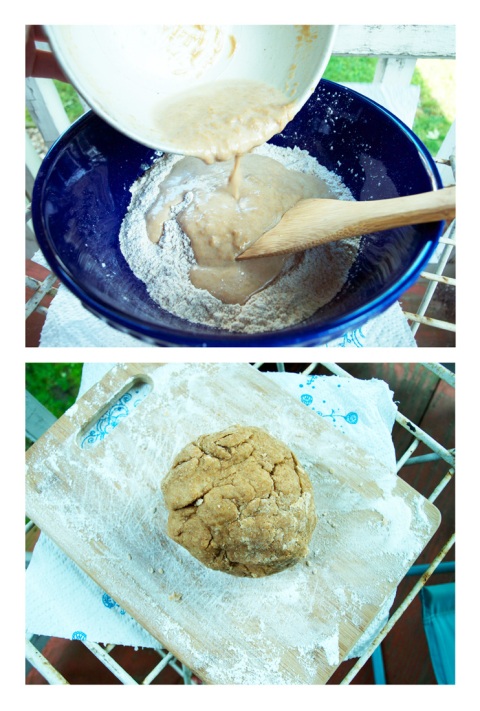
Preheat oven to 375’F. In a bowl, combine flour and baking powder.
In another bowl, mix peanut butter and milk.

Then add to dry ingredients and mix well.
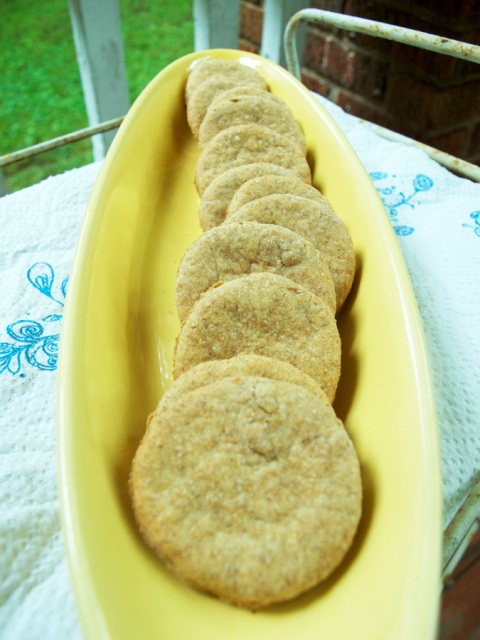
Place dough on a lightly floured surface and knead. Roll dough to 1/4 inch thickness and use a cookie cutter to cut out shapes. I didn’t have a cookie cutter so I used a small jar flipper upside down. This worked nicely.
Bake for 11 minutes on a greased baking sheet until lightly brown. This will vary based on the power of your oven. The original recipe called for 20 minutes. Maeby has trouble with very crunchy food, so I’m glad I opted for less time.
Cool on a rack, then store in an airtight container.
Please make sure you know how your pet will react to each ingredient before feeding it to them!
2. Doggie Dots rating: Maeby Not.
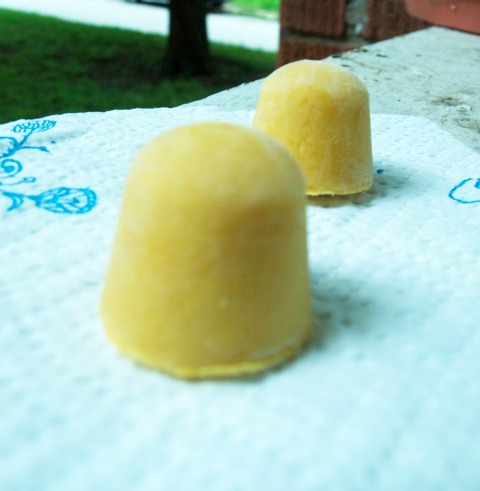
I created this recipe, but it is a modification of this. This one is so super easy. Maeby really likes them, but I don’t. Since the treat is frozen Maeby could not eat it right away causing it to melt and stain the couch. I would consider this after a walk on a hot day or to take outside.
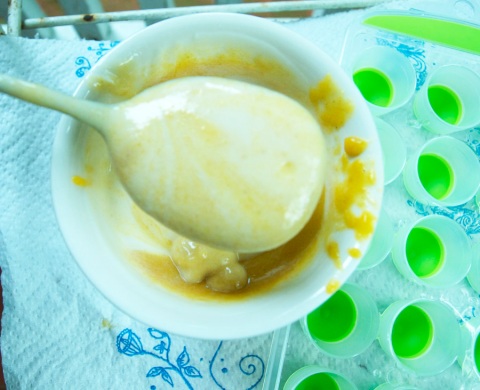
1 small jar baby food (I used chicken flavor)
1/2 cup plain yogurt
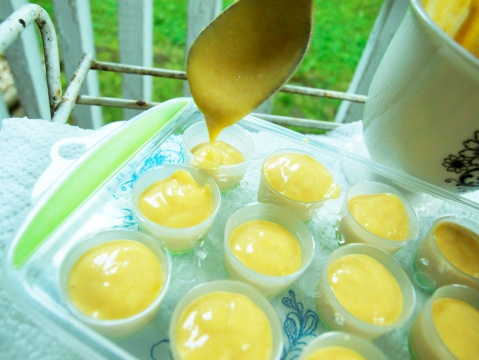
Simply mix yogurt and baby food together.
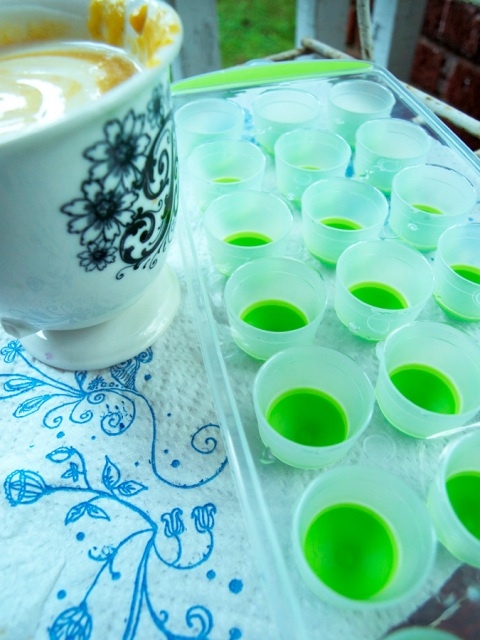
Pour into an ice cube tray.
Freeze and pop! I found this great little ice cube tray that makes the Dot-like shape. The bottom of the tray is a flexible silcone making it very easy to press the treats out.
So that’s that! I’ll be covering more pet related issues in the future, but for the time being if you have any knowledge on this topic or suggestions for more recipes I’d love to know!
-BL
Bait Car: Learning to Take the Good with the Bad.
05/23/2011 § 4 Comments
Today began like any ordinary day; got up, went to work. There were a few bumps along the way, but for the most part everything was fine, making for a regular day. Around rolled 3:00 p.m. and it was time for me to go home. As I’m walked out of the building I started fumbling around my purse for my keys. I couldn’t seem to locate them, but didn’t really think it odd because I always have that issue. [I call my purse ‘the black hole’.] Anyways, all I was hoping is that I would walk outside and find my car [Ruby] still sitting there.
Aaand.. she was. Phew.
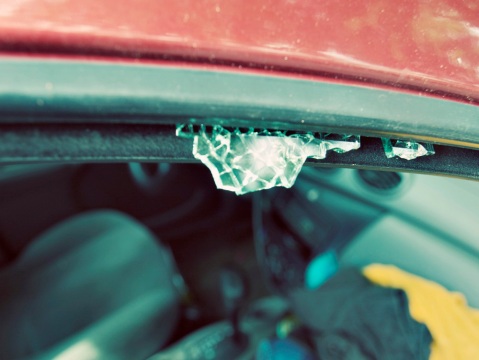
But, my window wasn’t.
Oh, and hey! There were my keys! LYING IN THE DRIVERS SEAT.
Apparently, when I left my car this morning my keys did not make it into my purse (big oops), practically making my car thief bait!
Luckily for me, this thief was not very bright. They went to all of the trouble to bust out my window, but just left the keys lying there? Forget having to hot wire the thing, they could have just been gone in no time! Not only did they leave the keys, but there was nothing stolen either. That’s probably because the only thing in my car is a bunch of clothes I was taking to donate. They could have had those for all I care. C’est la vie!
~~On a very positive note, I’d also like to mention Freshly Pressed and how much I appreciate everyone’s support and suggestions for the wine bottle uses! The lovely responses and feedback have far exceeded anything I could have ever asked for. Im so happy to be a part of the WordPress community and honored to have my post featured! A big THANK YOU to everyone!~~
Considering the excitement that’s come since FP, I’ll just add window replacement to my to-do list for tomorrow. No biggie.
I’ve got more content in the work and promise something fun very soon!
-BL
Practical Applications: DIY Guide to Repurposing Wine Bottles
05/20/2011 § 150 Comments
 White Wine and I have a little thing going on right now. For years I have avoided it because I thought it was responsible for some very bad headaches. Recently I discovered I can enjoy a glass without consequence, so I have.
 I’ve enjoyed many. Now I’m left with a bunch of pretty glass bottles that I’d prefer to use in some way rather than recycle.
My friend is experiencing the same dilemma so we’ve been brainstorming ideas. The problem is, a quick google search brings up many results that all use fancy tools and special drill bits to make extravagant things. This brings me to my first topic in the Practical Applications series:
Alternative uses for your wine bottles! The quick and easy diy guide.
1. Wine Bottle Rolling Pin. I used one to make this.

2. Wine Bottle Vase. Plain and simple.
3. Wine Bottle Fruit Fly Trap.
My friend Shawn taught me this trick a couple of summers ago. All you have to do is leave about an inch of wine in the bottom, or alternatively use apple cider vinegar. The little suckers will fly in, and drown.
4. Wine Bottle Album (or book) Ends.
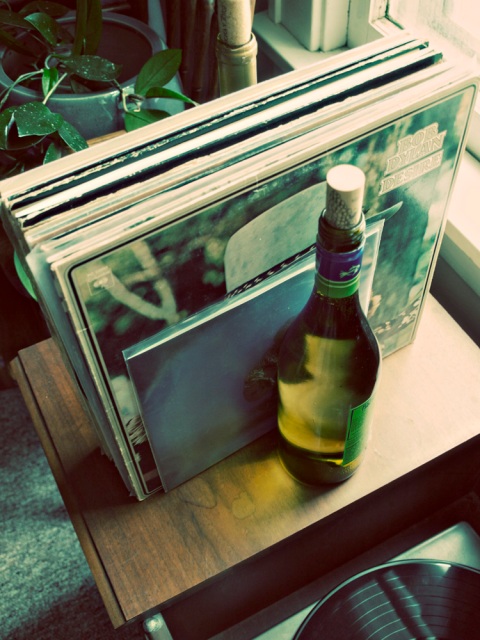
Fill a couple of bottles with sand (or water), re-cork and stick vinyl albums or books in between.
5. Wine Bottle Containers.
Use empty bottles to store rice, beans, pasta, and whatever else that will fit. You will likely have to invest in unused corks for this.
6. Wine Bottle Window Art.
Line your window sill with a row of bottles, empty or filled. If you’ve got mainly clear bottles you could fill with water and add food coloring for some added pizzaz.
7. Wine Bottle Beverage Container.
If you happen to make your own wine, why not reuse your bottles? Also you could serve other beverages from the bottles when entertaining.
There you have it! If you happen to have anymore suggestions, I’d love to know.
-BL
Oh the wonders of Photoshop Actions…
05/16/2011 § Leave a comment
I like photography…a lot. I kind of think it’s the perfect art form, for me anyways. I’m not very skilled when it comes to drawing or painting, so behind the lens I feel much more comfortable. Besides a few courses here and there, I really never focused on photography while I was in school. Now that I’ve got some more time on my hands, I’ve been working to improve my skillz.
So why am I blabbering on about photography? That’s because I just discovered the wonderful world of Photoshop Actions. Where these have been my entire life, and how I wasn’t aware of them sooner, I have NO idea but they are AMAZING.
While stumbling around on the web the other day I came across Pioneer Woman Photography and noticed she has an entire section devoted to free Photoshop Actions! I was really excited to find these and even more excited when I found out how easy they are to install and use. So here are some examples of the actions applied to a few photographs that I have taken.
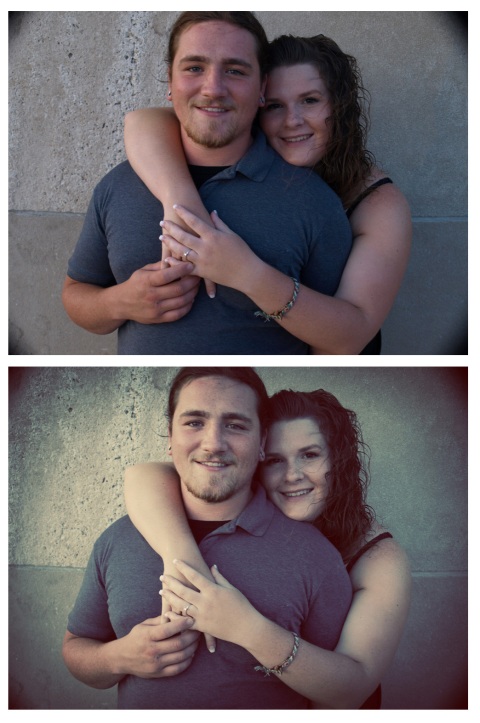
Seventies Action: Before & After
Meet my friends Danielle and Jesse. They are an amazing couple. About two years ago they asked me take engagement photos for them. This was the first time I had ever done anything like that and it was a fun learning experience. As you can tell by the “before” image, the lighting was not really optimal and the image just looks flat. The “Seventies” action really makes this image come to life in ways I did not expect. From the skin tone, to the color of Jesse’s shirt and the texture of the stone, I really love the result!
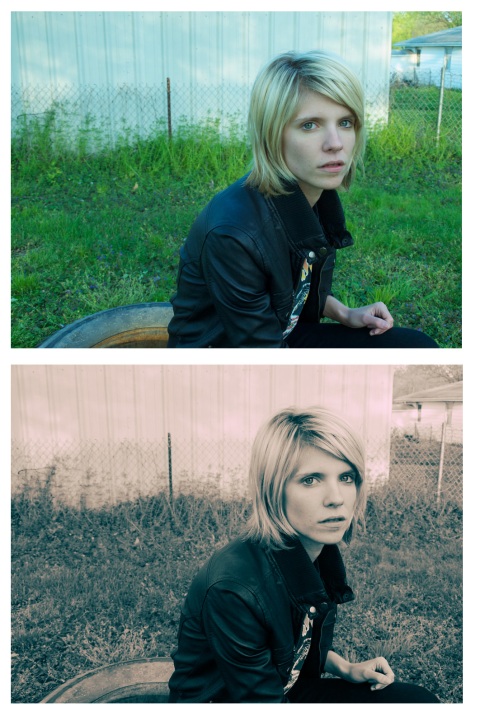
Colorized: Before & After
Meet Paige. I think in a way you could say she’s my photographic muse. Every time we’re together we work some creative magic. This is a random shot from a couple of weeks ago. I LOVE what the “Colorized” action does to this photo. Even though the “before” image is still good, the action really gives it an edginess that was lacking.
So that’s just a miniscule example of the wonders of Photoshop Actions. I can’t wait to keep playing around! If you’re new to this as well, I hope you’ll give it a go! It’ll make your life so much easier.
[As a Mac user all I had to do to install was click the download. Once it popped into my download file I clicked it again and Photoshop opened automatically. From there I went to Window->Actions and there they were! It took all of 1 minute, and now I can do all kinds of amazing things with my photos until the end of time!]
-BL
*I would also like to note that in no way am I affiliated with any of the sites I mention here. It’s just the things I like :)
The Marshmallow Dilemma: When is too much of a good thing really too much?
05/12/2011 § 2 Comments
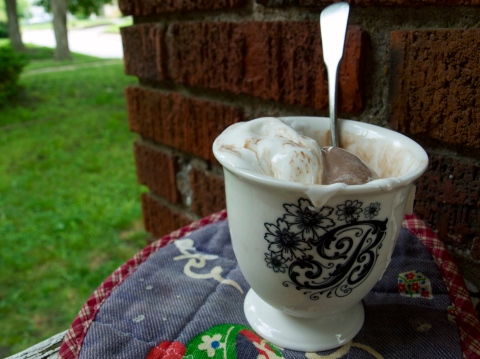
It’s no secret that I have an affinity for marshmallow fluff. Chocolate ice cream with marshmallow fluff, to be exact. According to my mom, I’m practically half chocolate and marshmallow as it is, because that’s all she wanted to eat when she was pregnant with me. So when an opportunity arose to buy a large amount of the good stuff for very cheap, what do you think I did? That’s right, I bought a 3 lb. tub of “marshmallow topping” for $3.00.
Visions of rice-crispy treats and chocolaty sweets danced through my head when I came across it on the shelf. Come to find out, there’s only so many fluffernutters a girl can eat. After a couple of spoonfuls, I was completely fluffed out.
So now I’ve got this monster of awesomeness sitting in my refrigerator that I want nothing to do with, reminding me that sometimes too much of a good thing really is too much.
-BL
Coming soon: 4/20/2011 Macaroni Salad: A Love Story
brooke’s potato pizzaster!
05/11/2011 § 3 Comments
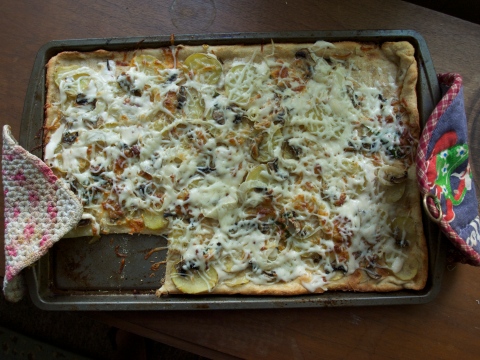
If you stand back, cross your eyes and squint a little, it almost looks like a Pollock painting; minus the corner of course.
The road to mastering the art of pizza making (or baking in general) has been a slow and rocky one for me. When I was in college my roommate Jackie and I went through a bit of pizza phase and I got pretty decent at making a pie. Unbeknownst to me, I’ve since lost my pizza-bilities.
I’ve been experimenting with different techniques and lately my go to gals for everything cooking have been Heidi Swanson and Deb of Smitten Kitchen. Any time I have an ingredient and I don’t know what to do with it, I check their recipe indexes first before looking elsewhere. They’ve both officially made it to my ‘bookmark bar’. ANYWAYS, the other day I came across Smitten Kitchen’s section on pizza, so I figured I’d give the whole baking thing another go. She makes it look so easy that it’s really hard to resist.
What you see above is a culmination of a couple of different recipes (I’m a notorious recipe tweaker) and some ingenuity. I use the term “pizzaster” lightly, because it actually came out tasting really good. However about half-way through the cooking process I had to add more sauce and cheese. Oops! Let’s just say, I need a little practice.
Brooke’s Potato Pizzaster! adapted from Smitten Kitchen
dough recipe: For the dough I used SK’s recipe almost exactly.
1 1/2 cups flour (I used 1/2 cup whole wheat flour. Not sure I would do that again, upon reflection)
1 teaspoon salt
3/4 teaspoon instant dry yeast
1/2 cup lukewarm water (+1 tablespoon because it was a little dry)
1 tablespoon olive oil (in this case all I had was a canola+olive oil blend, but I don’t think that’s a problem)
To find out how to make the dough look here.
I really have very little experience making dough and I don’t think I properly knead it… My dough was pretty tough and took quite a bit of manipulation to get it to stay still on the baking sheet. I also forgot to dust the pan with cornmeal prior to rolling the pizza out. So, that was fun trying to fix.
toppings: you can make this with whatever your little heart desires.
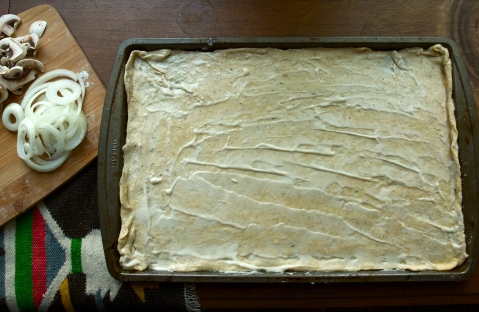
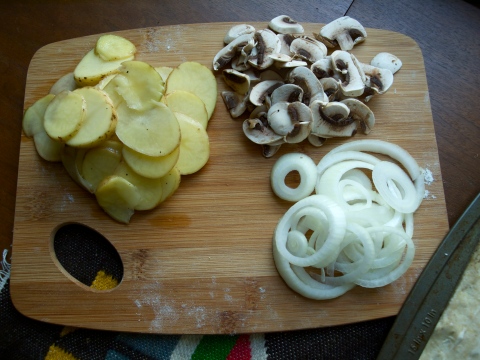
On hand I had Yukon Gold potatoes, vidalia onion, and white mushrooms. As a base I made a mixture of 3 tablespoons of alfredo sauce and a little bit of oil. I could have gone a little heavier with the amount of toppings, but what I had did the job. I also topped with some spinach and mozzarella cheese and rosemary.
I set my oven to 400 and let that bad boy cook for about 15 minutes.
Here’s where the disaster part came about: The spinach crisped up like dried leaves. So those had to go asap. Also it was very dry and the cheese was getting crispy. Discontent with the result, I turned the oven off and was about to say the hell with it! But, I decided to throw on some more alfredo and cheese one top and set it in the oven for a few minutes.
VOILA, it turned out really well and my mom is a big fan.
Not so bad after-all.
-BL


